Project Setup and Configuration#
Ametnes Construction Management
Tier: Premium, Enterprise Offering: Ametnes Managed Industry: Construction, Manufacturing
Learn how to configure your construction projects, define phases, milestones, and set up the project structure for effective management.
Defining Project Stages#
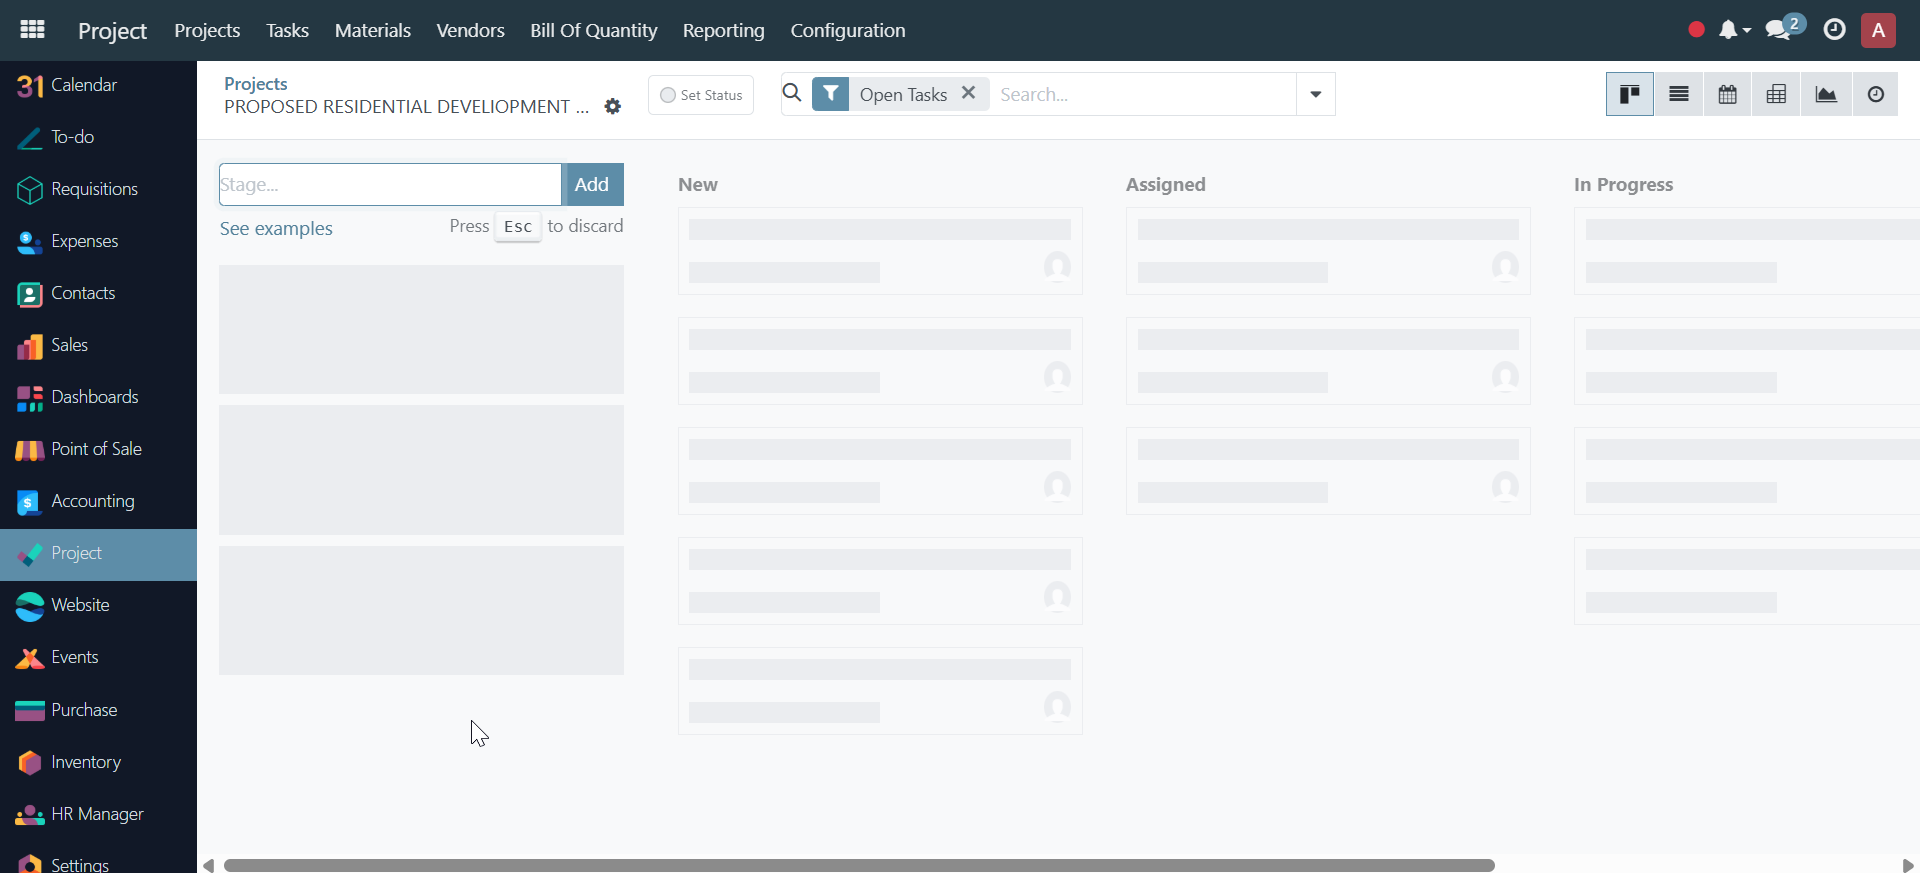
- Open your project from the Projects dashboard.
-
A screen for adding the project stages is displayed
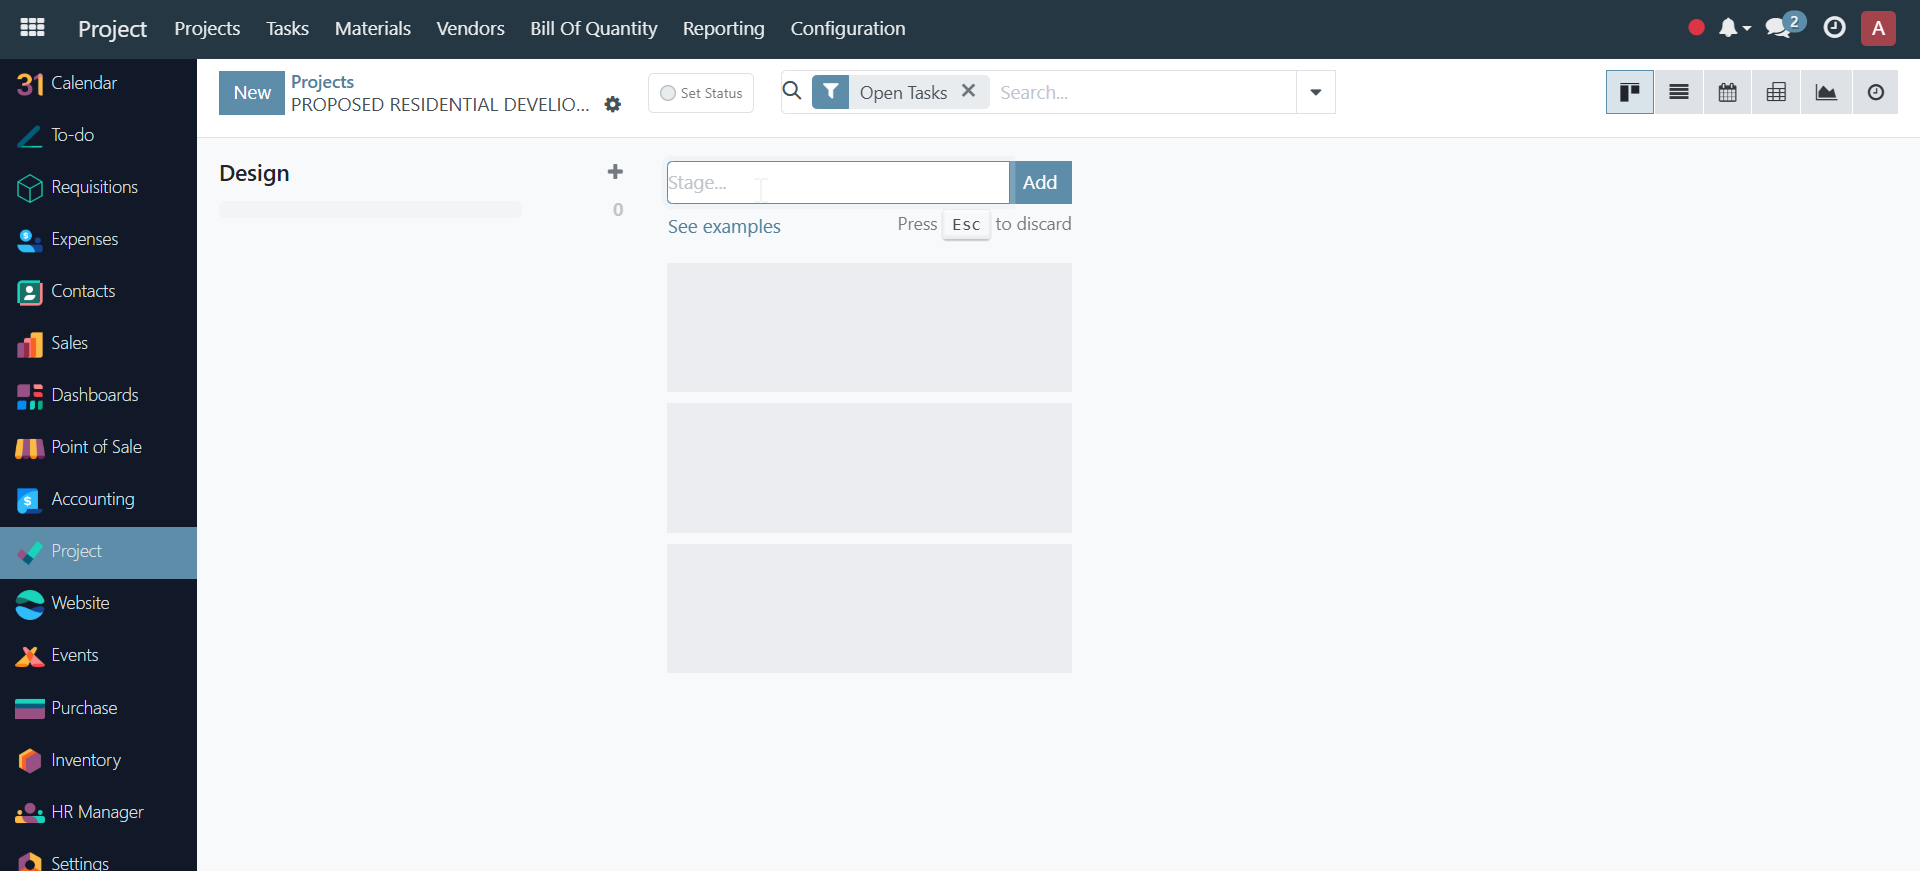
-
Add the stage and click Add to define major stages (e.g., Design, Procurement, Foundation, Structure, Finishing).
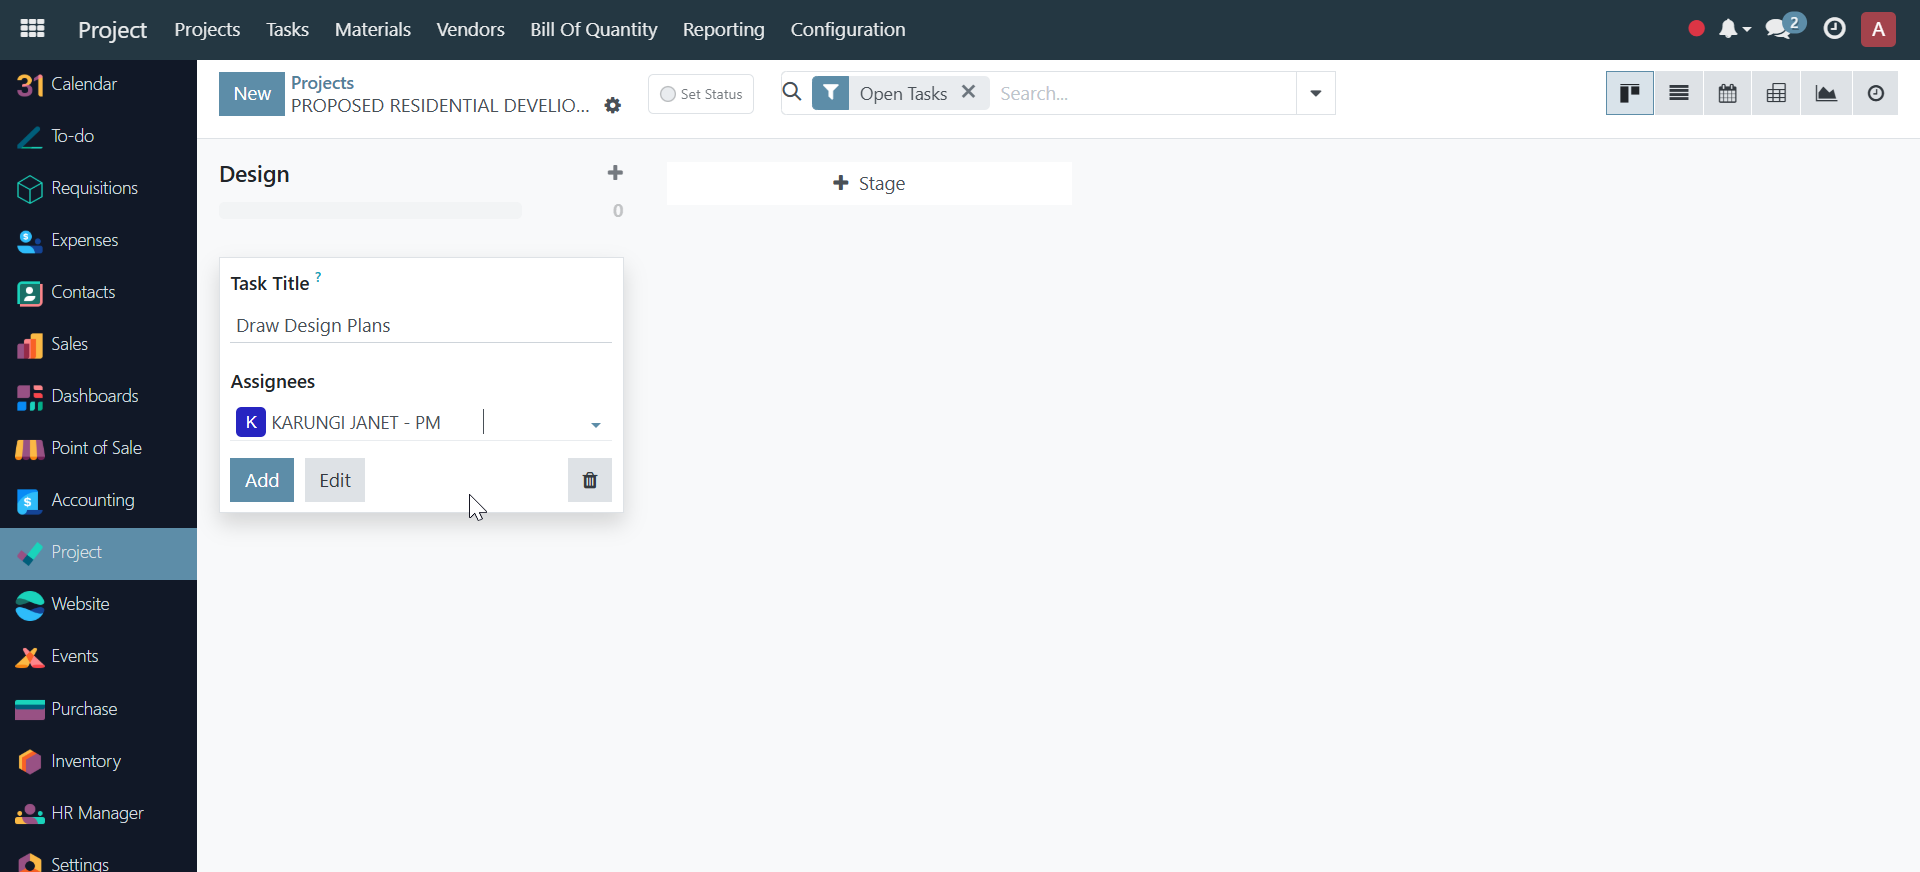
- Add tasks under each stage by clicking the plus icon on the immediate right of the stage
Adding Tasks#
- Inside each phase, click Add Task.
- Enter task details: name, description, assignee, planned dates, dependencies.
- Assign labor, equipment, and material resources as needed.
- Link tasks to work packages for better organization.
Creating Milestones#
- Within each project, add Milestones to track key deliverables.
- Click the dropdown menu on a project card to add themilestones.
- Examples: "Foundation Completed", "Roof Installation", "Final Inspection".

🏗️ Project Continued...#
1. Project Creation#
This section details how to initialize a new project within the system.
| Step | Action | Description |
|---|---|---|
| 1. Navigate | Click on the "Project" module in the main navigation sidebar. | This opens the Project Dashboard. |
| 2. Initiate | Click the "New" button at the top of the dashboard. | A project creation form will be displayed. |
| 3. Enter Details | Fill in the Name, Customer, and other mandatory fields. | |
| 4. Configure | Check "Billable" and "Timesheets" options as required. | Billable enables customer invoicing. Timesheets enables time tracking. |
| 5. Save | Click the "Create Project" button. | The project is saved and the dedicated Project Page opens. |
2. Defining Project Structure: Stages and Tasks#
2.1. Defining Stages#
Project stages represent milestones or phases in the project lifecycle.
- Access: Ensure you are on the newly created Project Page.
- Add Stage: Enter the desired stage name (e.g., Planning, Execution) into the "+ Stage" field.
- Save Stage: Click the "Add" button to save the stage as a column on the board.
- Repeat: Add all necessary stages to complete the project workflow.
2.2. Adding Tasks to a Stage#
Tasks are the specific, actionable items required to complete a project stage.
- Locate Stage: Identify the stage column for the new task.
- Initiate Task: Click the plus icon (
+) on the immediate right of the stage name. - Enter Task Info: A "Task Title" box will pop up. Enter the title and use the dropdown to "Assign To" the responsible person(s).
- Save Task: Click the "Add" button to save the task within the stage.
3. Task Management and Detail Entry#
Tasks can be opened for detailed configuration, tracking, and collaboration.
| Detail Area | Action | Purpose |
|---|---|---|
| Open Task | Click directly on the task tile on the board. | Opens the comprehensive Task Page. |
| General Info | Add Milestones, Tags, Deadline, Description, and Allocated Time. | Essential for planning, priority, and tracking. |
| Sub-tasks | Click the blue "Sub Task icon" button. | Creates a new "Subtask" tab to break down the main task into smaller parts. |
| Dependencies | Utilize the "Blocked By" field. | Indicate which tasks must be completed before this task can begin. |
| Time Tracking | Enter data in the "Timesheets" section. | Log the actual time spent on the task by team members. |
| Material Planning | Use tabs like "Material Plannings", "Consumed Material", "Material Requisitions", and "Stock Moves". | Manage logistics and inventory linked directly to the task. |
| Extra Info | Utilize the "Extra Info" tab. | A general area for any other relevant details or notes. |
4. Project Reporting and Settings#
4.1. Accessing Project Actions Menu#
To view project-level options:
- Go to Dashboard: Return to the main Projects Dashboard.
- Locate Card: Find the desired project card.
- Open Menu: Click on the dropdown menu (upper right corner of the project card).
4.2. Project Action Menu Options#
| Option | Function | Details |
|---|---|---|
| View | Opens the Project Board (Stages/Tasks). | |
| Project Updates | Shows a dashboard of general project performance and status. | |
| Tasks Analysis | Displays a graphical representation of progress over time. | |
| Burndown Chart | Visual tool tracking actual vs. planned work remaining. | |
| Share | Generates a sharable link for customers/stakeholders. | Links can be set to Editable or Read-Only. |
| Settings | Opens the comprehensive configuration page. | (See section 4.3) |
4.3. Project Settings Configuration#
Use this menu to manage core administrative and linking details.
| Section | Key Fields Included | Action/Purpose |
|---|---|---|
| General Details | Project Manager, Planned Date, Allocated Hours, Tag, Description. | Define accountability, scope, and timeline. |
| Linking | Related Sale Order, Related Purchase Order, Inventory Usage, Project Deliverables, Work Package. | Connect the project to financial, procurement, and inventory data. |
| Collaboration | Collaborators Icon (Top of Settings Page). | Click "Invite Collaborators" to add internal team members to the project. |
📥 Project Task Import Documentation#
This guide details the process of importing a list of tasks and subtasks from an external spreadsheet (e.g., Excel) directly into an existing project.
Prerequisites#
- An existing project must be created in the system (as per previous documentation).
- The task data must be prepared in a spreadsheet file (e.g.,
.xlsxor.csv) with clear column headers.
Required Spreadsheet Format#
The spreadsheet should contain columns to map to the system's task fields. Key recommended columns for successful import include:
| Column Name (Example) | Corresponding System Field | Purpose |
|---|---|---|
| Name | Display Name (Task Title) | The name of the task or subtask (e.g., 1.1 Contract signing). |
| Parent Task | Parent Task | Used to define hierarchy; link a subtask to its parent (e.g., 1 Preliminaries). |
| Start Date | Start Date | The planned commencement date for the task. |
| Deadline | Deadline | The scheduled completion date for the task. |
1. Setting the Import Stage#
Before importing tasks, you must define the default stage where the new tasks will be initially placed.
- Open Project: Navigate to and open the specific project where the tasks will be imported.
- Access Settings: Click the Settings icon (or equivalent button) located immediately next to the project name at the top of the page.
- Set Import Stage: Within the project settings, find the option to set the default stage for imported tasks (e.g., Initiation or To Do). Select the desired stage.
- Save Changes: Ensure you save the project settings before proceeding.
2. Executing the Task Import#
This section covers uploading the file and mapping the fields to finalize the import.
| Step | Action | Description |
|---|---|---|
| 1. Initiate Import | Click the "Import Records" button or option within the project view. | This displays the Import Records configuration form. |
| 2. Upload File | Click the "Upload file" (or "Load File") button. | A file manager dialog will open, allowing you to select the prepared spreadsheet file from your desktop. |
| 3. System Preview | The system will load the file and display a preview of the data, mapping the "File Column" headers to potential "Odoo Field" targets. | The system attempts an automatic match based on column names. |
| 4. Map Fields (Crucial Step) | Review and manually map the remaining File Columns to the correct Odoo Fields. | Ensure the following minimum fields are mapped:Name -> Display NameParent Task -> Parent TaskStart Date -> Start Date (or equivalent field)Deadline -> Deadline |
| 5. Test Import (Recommended) | Click the "Test" button at the top of the form. | This checks for errors in the data format and field mapping without saving the tasks. If errors are found, fix them in the spreadsheet or mapping and re-test. |
| 6. Finalize Import | Once the test is successful, click the "Import" button. | The system will create the list of tasks and subtasks and place them in the default stage configured in Step 1. |
Result: The newly imported tasks, complete with hierarchy (Parent/Sub-task structure) and scheduled dates, will now appear in the project board under the designated stage.
Saving and Reviewing#
- Save your changes.
- Review the project timeline and resource allocations for accuracy.
Continue with the next section: Resource Management