Creating and Uploading Documents#
Upload Methods Overview#
Paperless-ngx offers multiple ways to add documents to your system, making it easy to digitize your paperwork from any device or location.
Web Interface Upload#
Basic Upload Process#
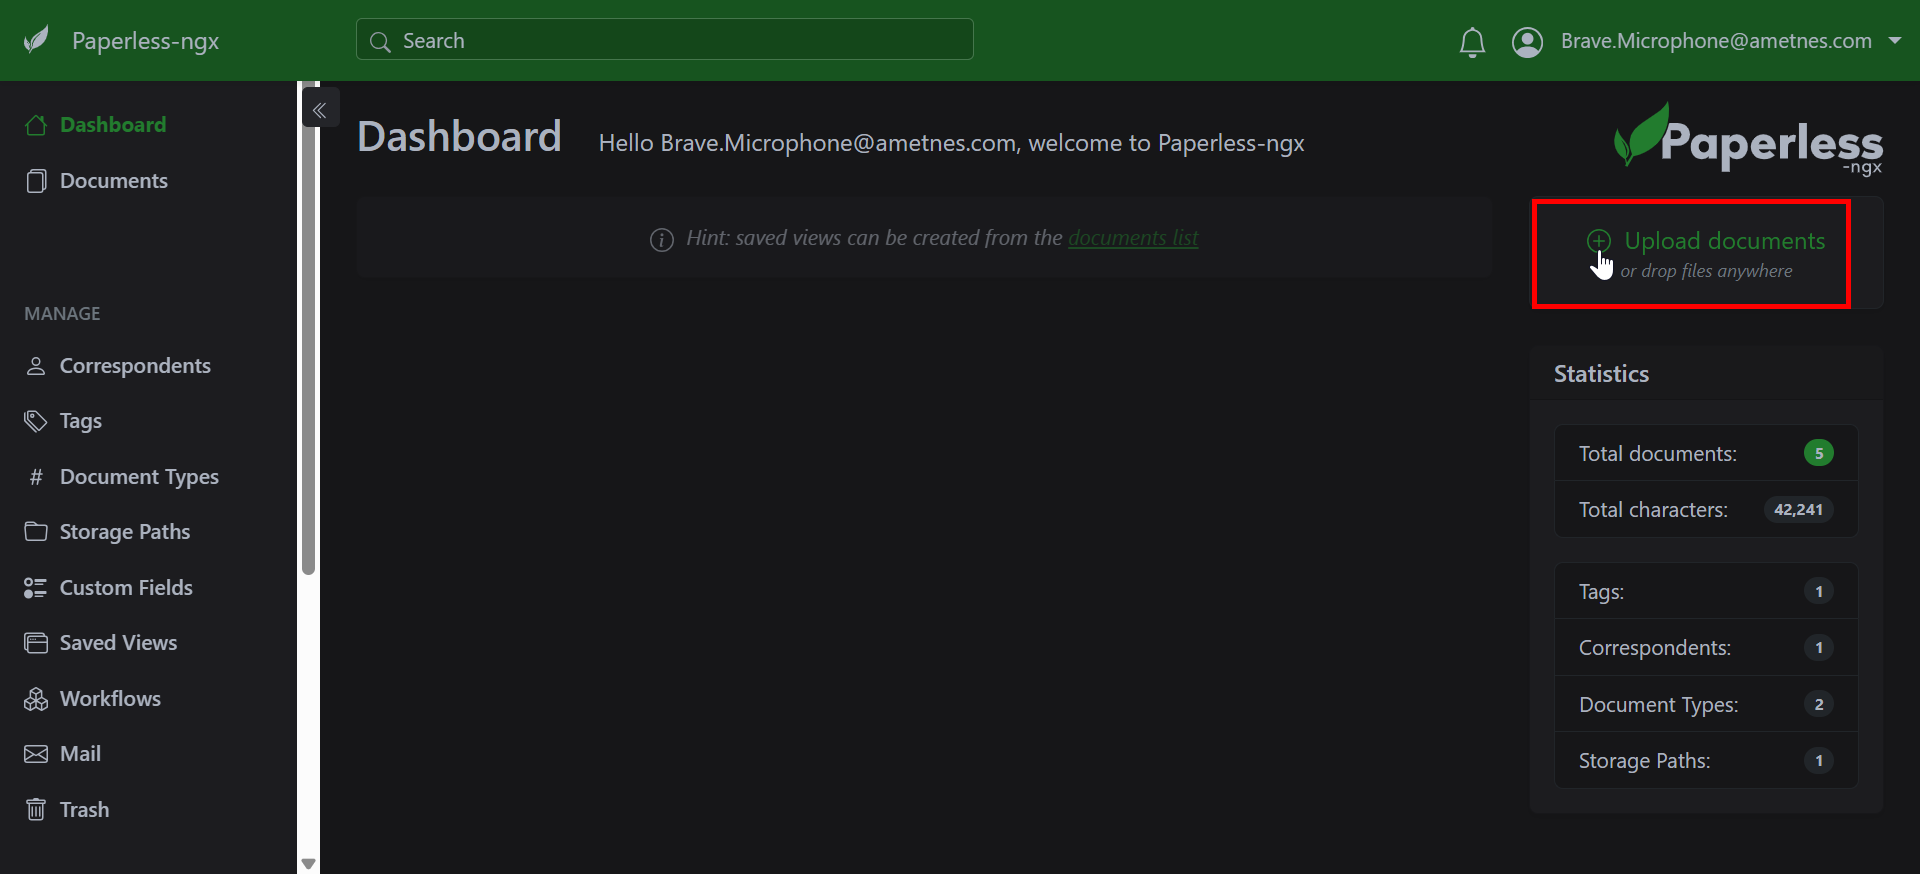
- Click the "Upload" button in the top navigation
- Drag and drop files or click "Browse" to select files
- Add optional metadata (tags, correspondent, document type)
- Click "Upload" to process
Supported File Formats#
- PDF files: .pdf
- Image files: .jpg, .jpeg, .png, .tiff, .bmp
- Office documents: .docx, .doc, .xlsx, .xls, .pptx, .ppt
- Email files: .eml, .msg
- Text files: .txt, .rtf
Upload Options#
- Single file: Upload one document at a time
- Bulk upload: Select multiple files simultaneously
- Drag and drop: Drag files directly from your computer
- Paste from clipboard: Paste images directly (Ctrl+V)
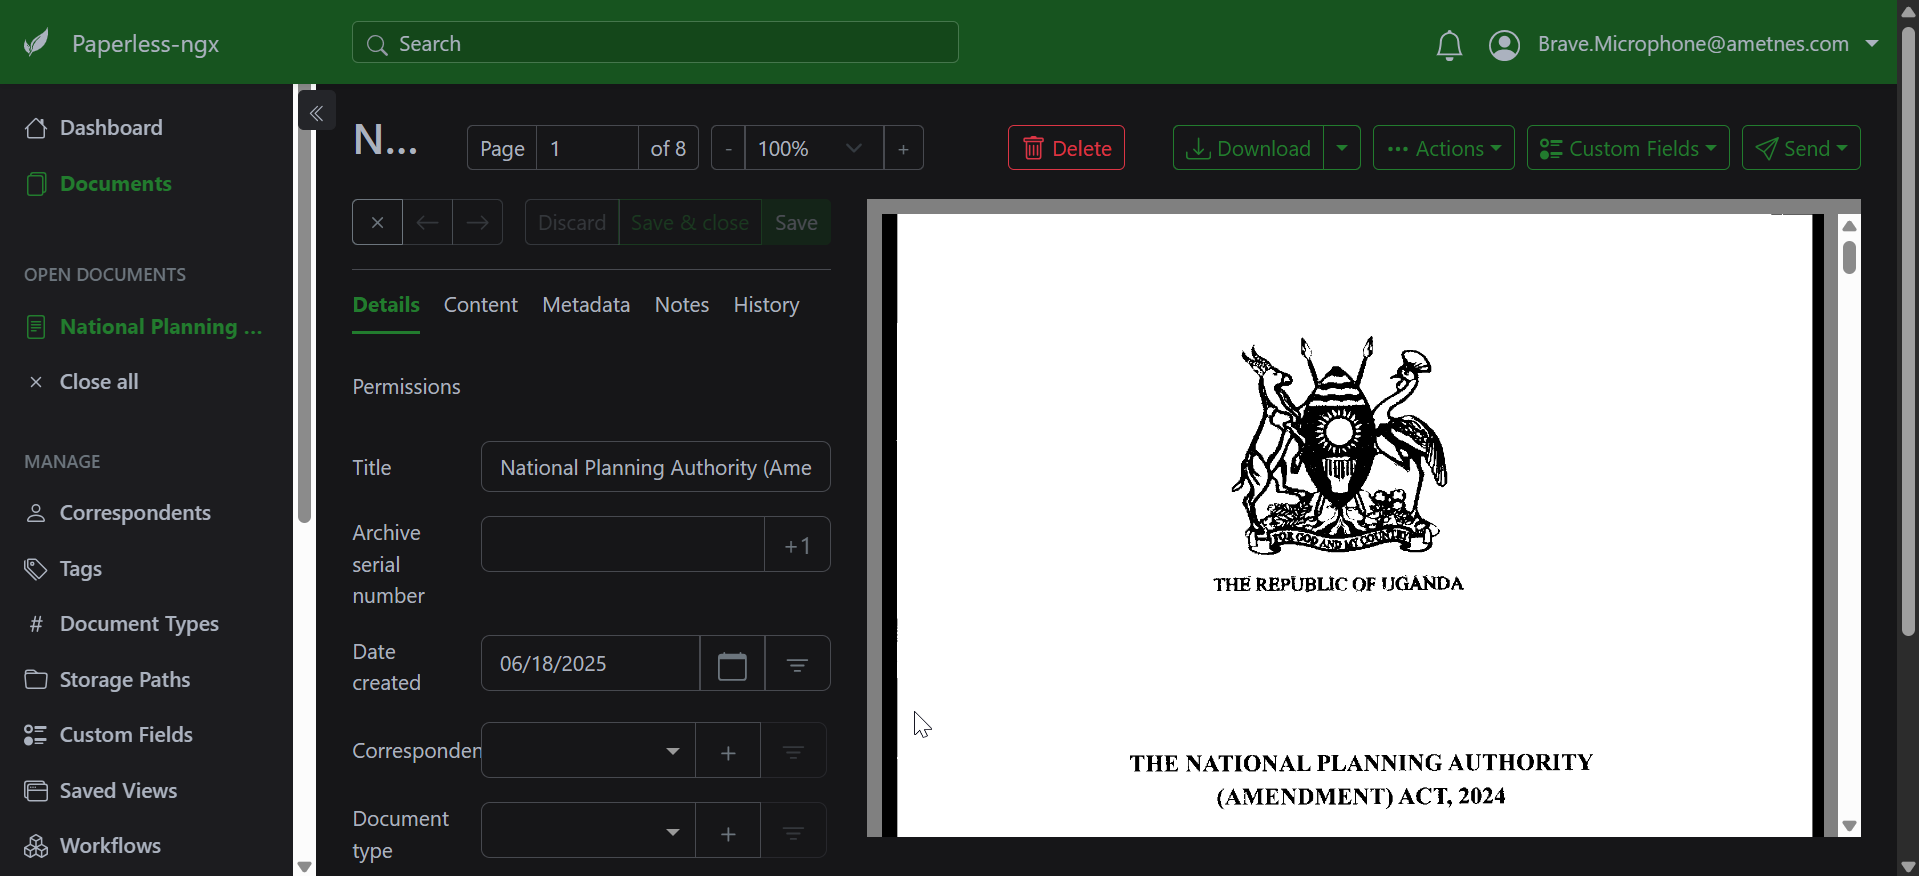
Adding Metadata During Upload#
- Title: Custom document name
- Correspondent: Person or organization
- Document Type: Category classification
- Tags: Organizational labels
- Date: Document date (auto-detected or manual)
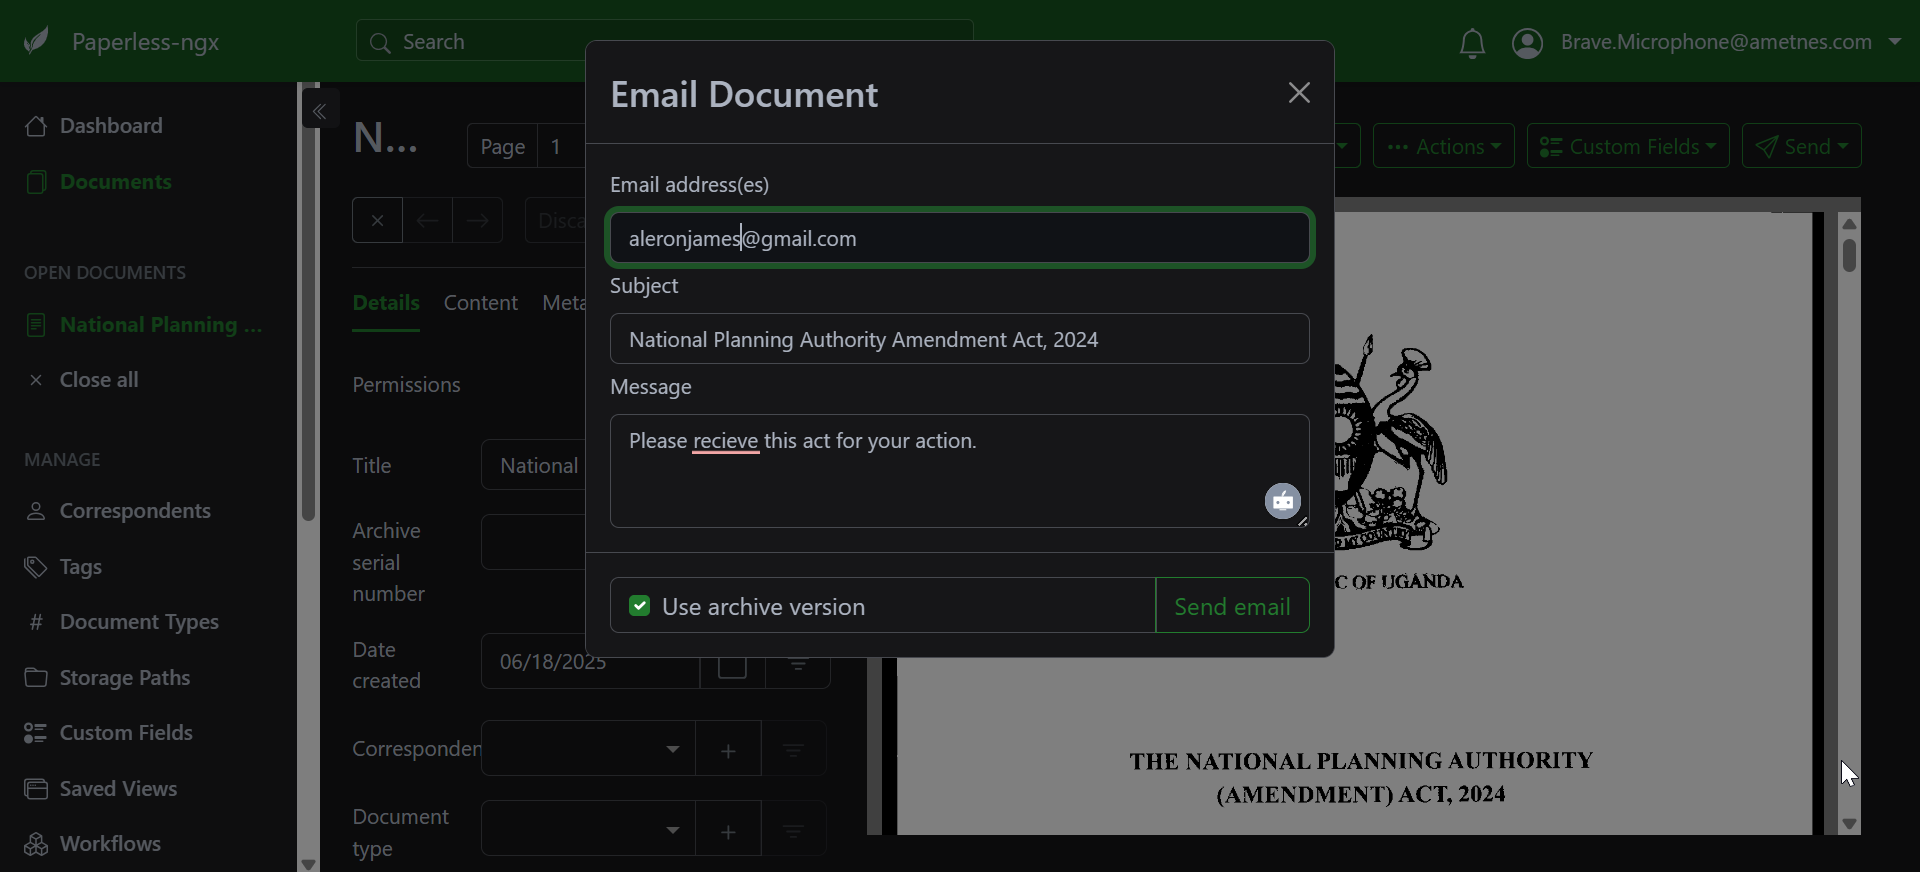
Email Integration#
Email-from-Paperless#
Send documents directly to your Paperless-ngx instance:
- Email Address: Use your designated email address
- Subject Formatting:
[Tag1] [Tag2] Document Title - Attachments: Include documents as email attachments
- Processing: Documents are automatically imported
Email Subject Examples#
[Invoice] [2024] Electricity Bill March
[Receipt] [Business] Office Supplies Purchase
[Contract] [Legal] Service Agreement ABC Company
Email Processing Rules#
- Attachments are extracted and processed separately
- Email body can be saved as a text document
- Sender information becomes the correspondent
- Subject line tags are automatically applied
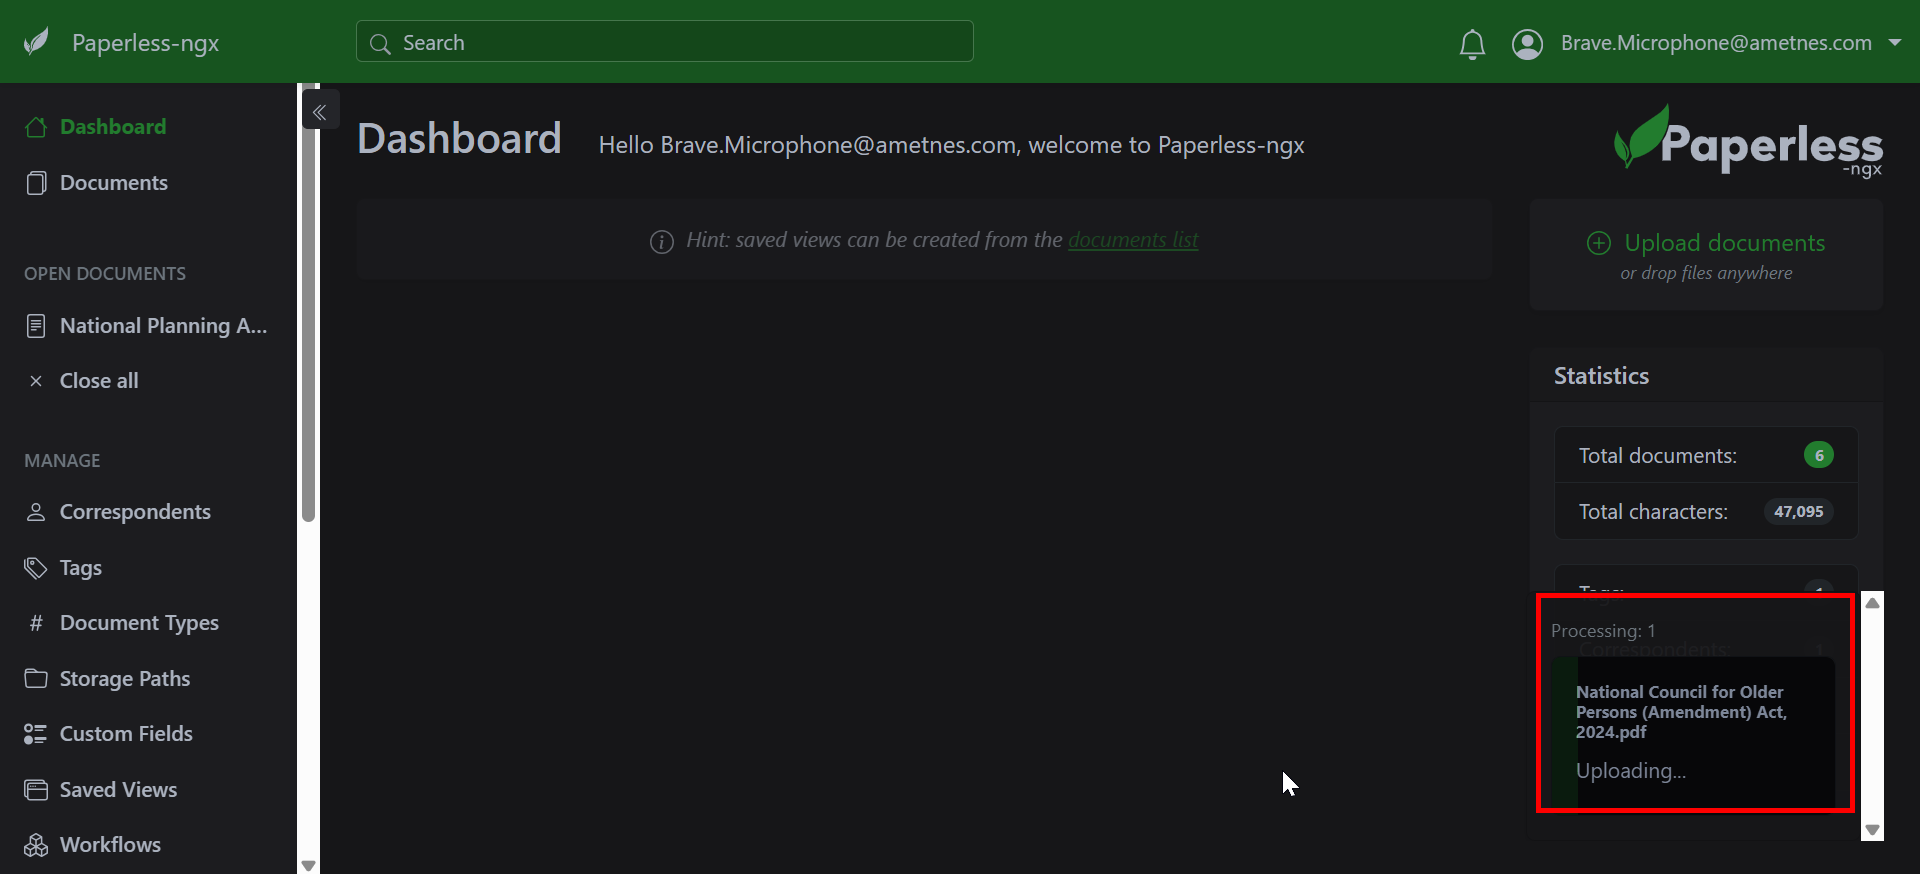
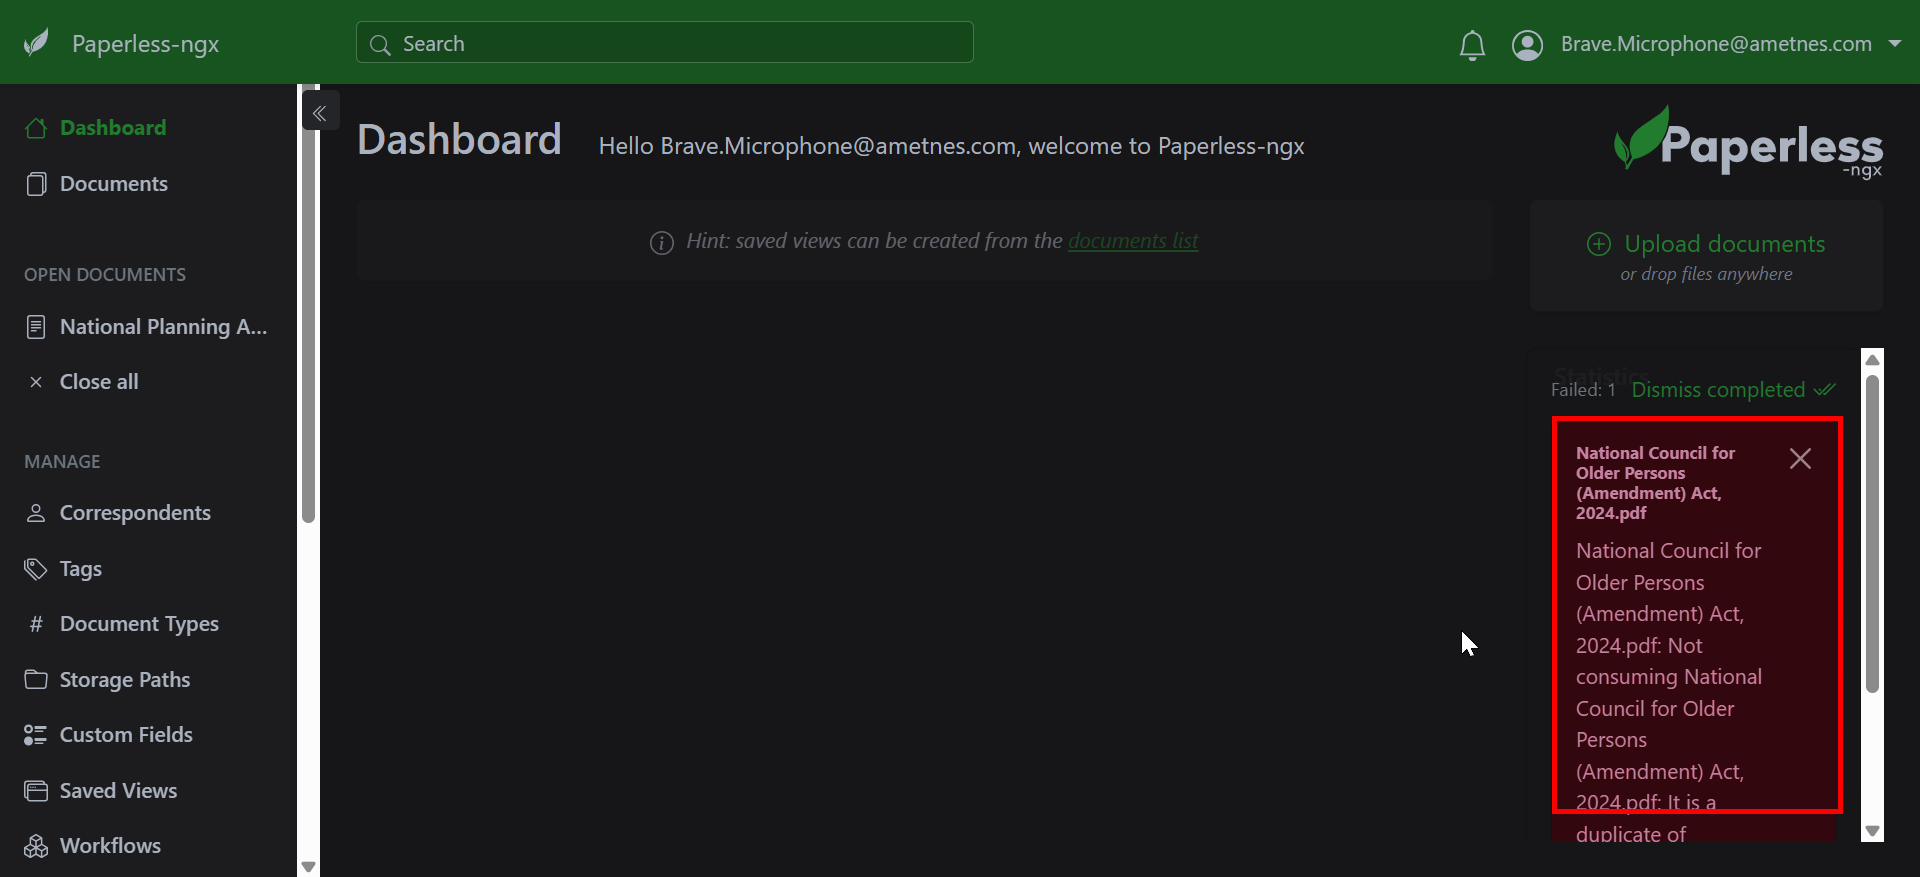
Document Processing#
Processing Status#
Monitor document processing in real-time:
- Green checkmark: Successfully processed and indexed
- Yellow warning: Processed with minor issues
-
Red error: Processing failed (requires attention)
-
Blue clock: Currently being processed
Processing Time#
Typical processing times: - Text PDFs: 5-30 seconds - Image files: 1-5 minutes (depending on OCR) - Office documents: 30 seconds - 2 minutes - Large files: Processing time increases with file size
Upload Best Practices#
File Preparation#
- Scan quality: Use 300 DPI for text documents
- File naming: Use descriptive, consistent names
- File size: Keep individual files under 50MB when possible
- Image orientation: Ensure text is right-side up
Metadata Strategy#
- Consistent naming: Develop a naming convention
- Tag preparation: Plan your tag system before uploading
- Date accuracy: Verify document dates are correct
- Correspondent setup: Add correspondents before bulk uploads
Troubleshooting Upload Issues#
Common Problems and Solutions#
Upload Fails or Times Out#
- Check file size: Large files may exceed limits
- Network connection: Ensure stable internet
- Browser issues: Try different browser or clear cache
- File format: Verify file type is supported
Performance Tips#
- Batch processing: Upload multiple small files together
- Off-peak hours: Upload large files during low-usage times
- File optimization: Compress large PDFs before uploading
- Progressive upload: Upload documents in smaller batches
Security Considerations#
Upload Security#
- Encrypted transfer: All uploads use secure HTTPS
- Virus scanning: Files are automatically scanned
- Access control: Only authorized users can upload
- Audit trail: All uploads are logged and tracked
Privacy Protection#
- Sensitive documents: Use appropriate tags and permissions
- Personal information: Be aware of data in uploaded documents
- Sharing settings: Review default sharing permissions
- Retention policies: Understand document retention rules