Horilla HR System - Base Settings User Manual#
Department Management#
Accessing Department Settings#
- Navigate to the top menu bar and click "Settings"
- In the left sidebar, locate and click on "Base"
- Select
"Department"from the displayed options
Creating a New Department#
- Click the "Create" button located in the top-right corner of the Department page
-
Enter the department name in the provided field

-
Click "Save" to create the department
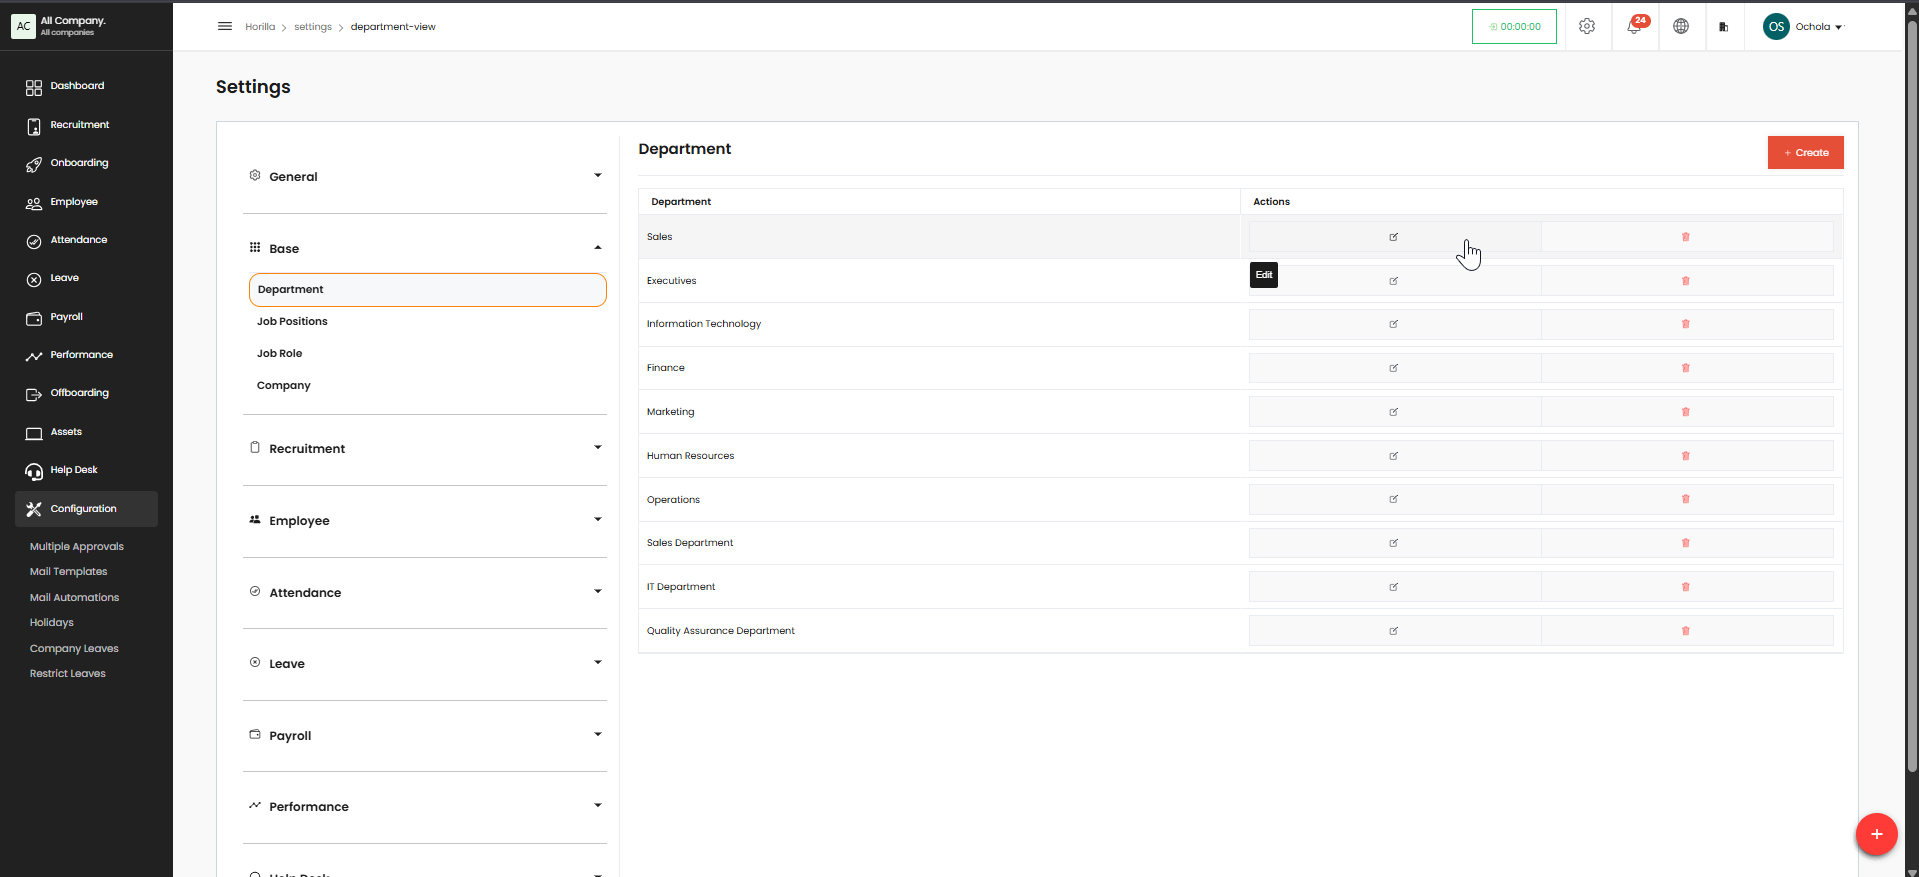
Managing Existing Departments#
- View Departments: All departments are listed in a table showing department names and available actions
- Edit a Department:
- Locate the department in the list
-
Click the pencil (edit) icon in the Actions column
-
Modify the department name as needed
- Click
"Save"to confirm changes - Delete a Department:
- Locate the department in the list
- Click the trash (delete) icon in the Actions column
- Confirm deletion when prompted
Important Notes#
- Deleting a department with assigned employees will require reassigning those employees first
- Standard departments cannot be deleted if they are required by the system
- The system currently includes departments such as Sales, Executives, IT, Finance, Marketing, HR, Operations, and Quality Assurance
Job Positions#
Accessing Job Positions Settings#
- Navigate to Settings → Base → Job Positions
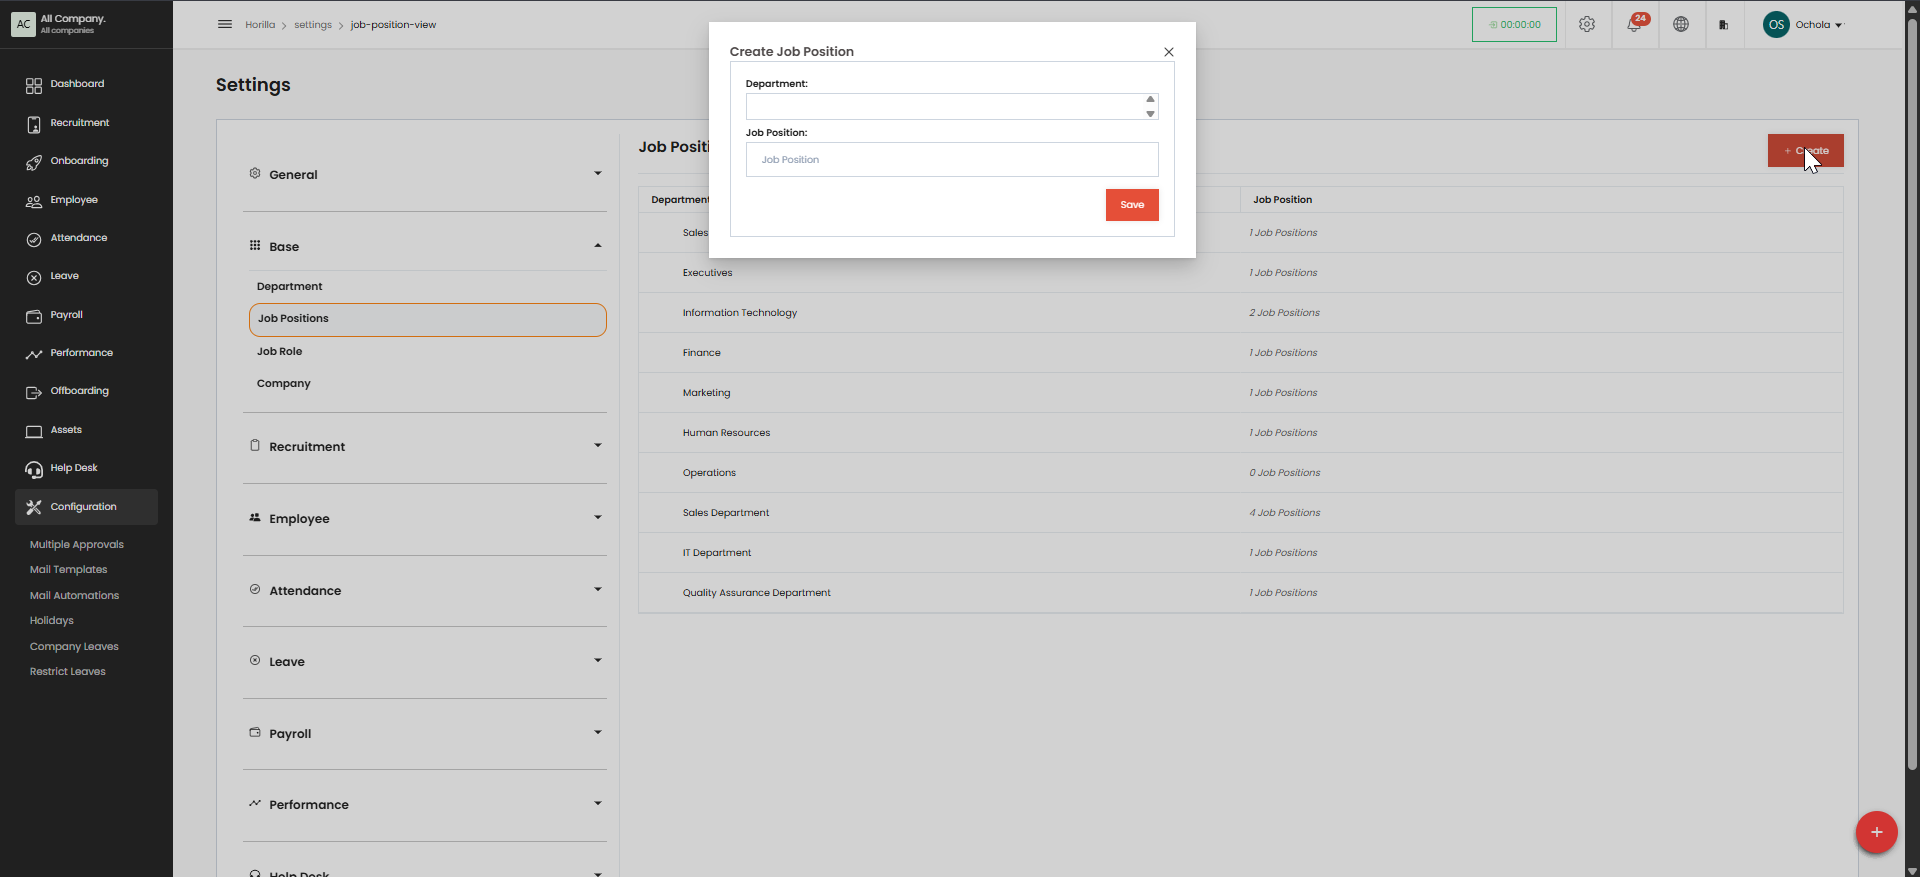
Creating a New Job Position#
- Click the "Create" button on the Job Positions page
- Fill in the required information:
- Job Position Title
-
Associated Department
-
Click
"Save"to create the job position
Managing Job Positions#
- Edit a Job Position:
- Locate the job position in the list
- Click the edit icon
- Update information as needed
- Click
"Save" - Delete a Job Position:
- Locate the job position in the list
- Click the delete icon
- Confirm deletion when prompted
Important Notes#
- Job positions are linked to departments; ensure the correct department is selected
- Job positions cannot be deleted if employees are currently assigned to them
Job Role#
Accessing Job Role Settings#
- Navigate to Settings → Base → Job Role
Creating a New Job Role#
- Click the
"Create"button on the Job Role page - Complete the following information:
- Role Title
-
Role Description
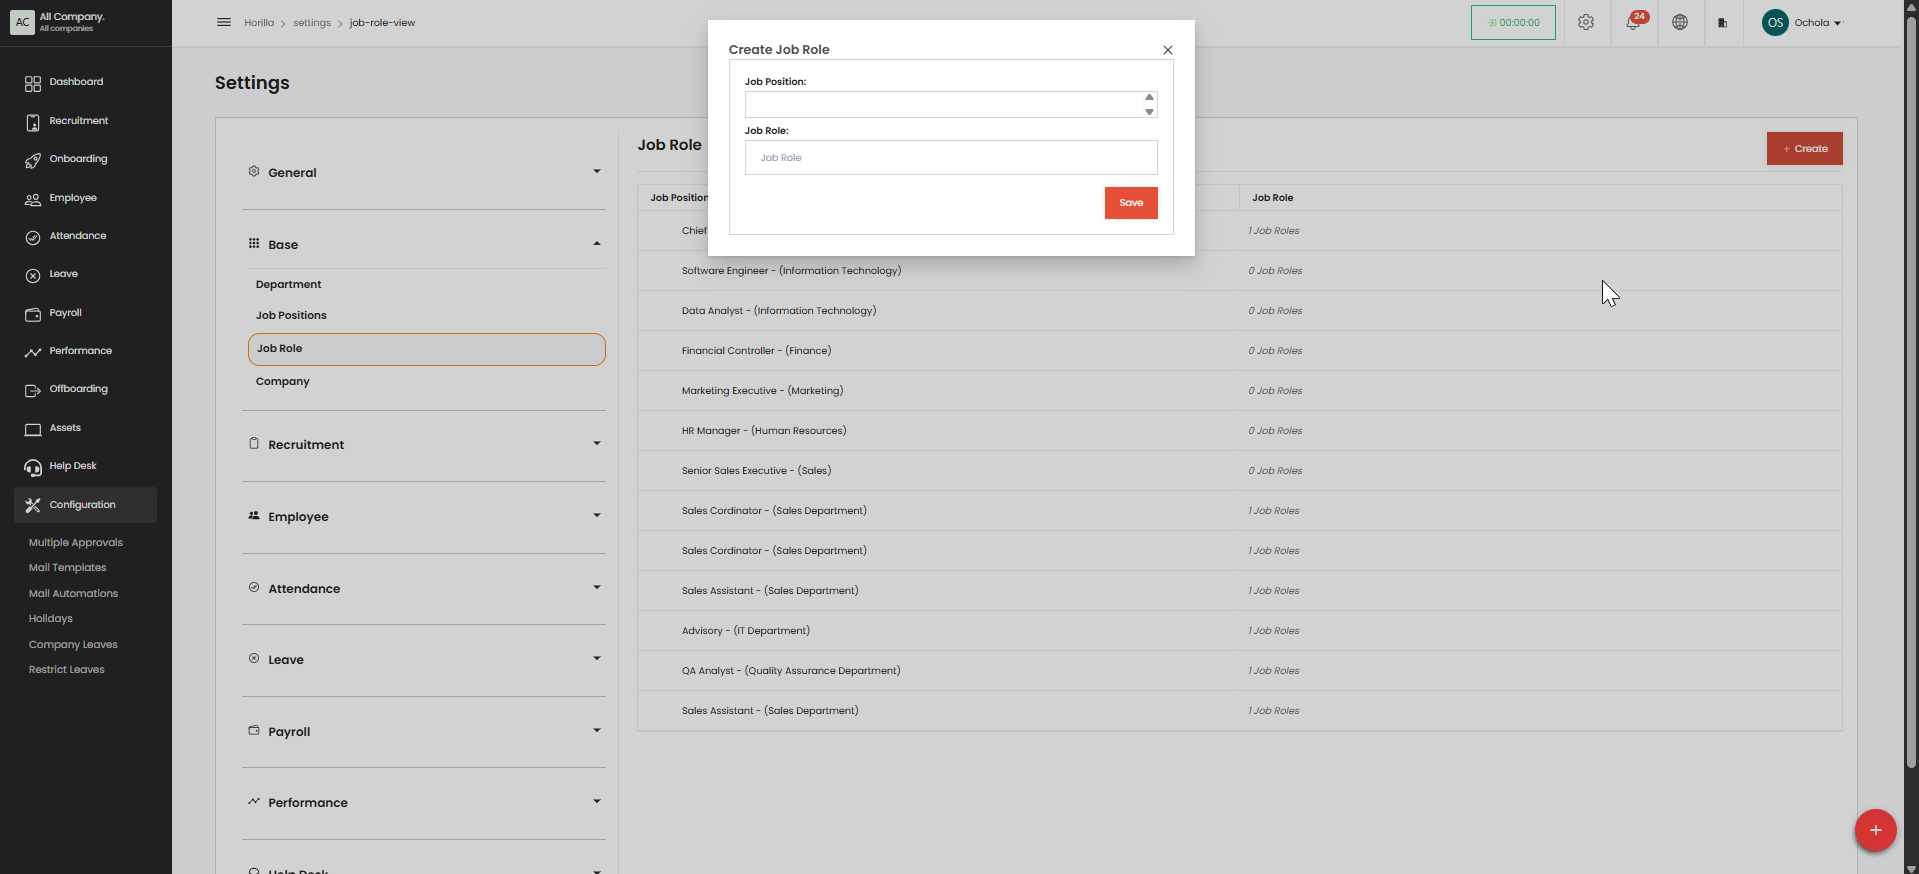
-
Click "Save" to create the job role
Managing Job Roles#
- Edit a Job Role:
- Find the job role in the list
- Click the edit icon
- Update the information as needed
- Click
"Save" - Delete a Job Role:
- Find the job role in the list
- Click the delete icon
- Confirm deletion when prompted
Important Notes#
- Job roles define specific responsibilities within job positions
- Multiple job roles can be assigned to a single job position
- Employees are assigned job roles rather than just job positions for more detailed organizational structure
Company Settings#
Accessing Company Settings#
- Navigate to Settings → Base → Company
Configuring Company Information#
-
Complete all necessary company details:
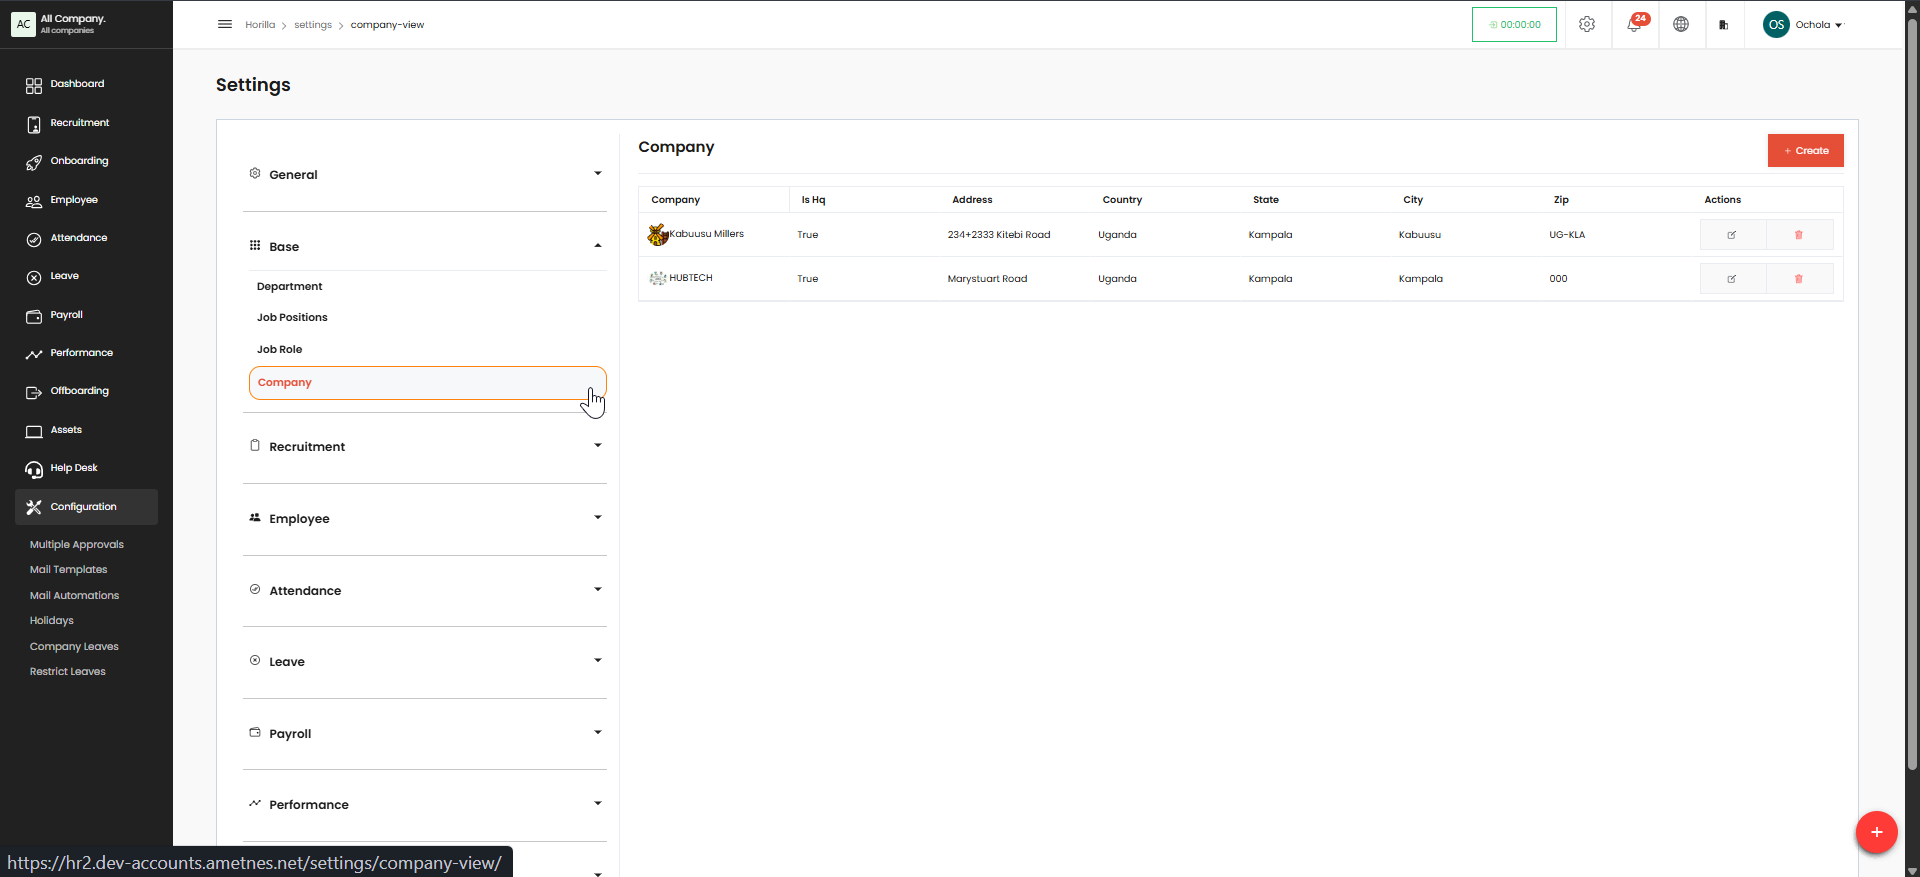
-
Company Name
- Address
- Country
- State
- City
- Zip
-
Icon
-
Click
"Save"after entering all information
Updating Company Settings#
- Access the Company settings page as described above
- Modify any information that needs to be updated
- Click
"Save"to apply changes